But you have enough to do without learning QEMU right? So here’s a quick guide to integrating Damn Small Linux into GNS3. I’m using Windows 7 64bit as my workstation.
DSL – Damn Small Linux.
I chose this distribution because it’s tiny, starts quicky and uses very little memory. You can start up a DSL virtual instance in 128m of RAM. Here are the tricks I used to get it working.
Versions used.
GNS3 0.7.4 – Ships with QEMU
Damn Small Linux – 4.4.10 32bit ISO
First obtain the DSL ISO image. I downloaded it and placed it directly into the GNS3 program folder in Windows 7, which is located in C:\Program Files (x86)\GNS3
Start a windows CMD prompt and CD to the GNS3 directory.
C:\Program Files (x86)\GNS3
Now create a QEMU virtual disk. This will contain your DSL instance.
C:\> qemu-img create dsl 1G
This creates an 1GB “container”. You can probably make it smaller, or bigger. It can be grown dynamically anyway if you need more space.
Now boot Damn Small Linux from QEMU in the command line.
C:\Program Files (x86)\GNS3> qemu -hda dsl -cdrom dsl-4.4.10.iso -m 256 -boot d
> -hda dsl: indicates the “dsl” partition you made will be in the “hda” physical partition.
> a – cdrom dsl-4.4.10.iso: indicates that the ISO image will be used as your CDROM.
> -m 256: Use 256m of RAM
> -boot d : indicated D drive is the boot drive.
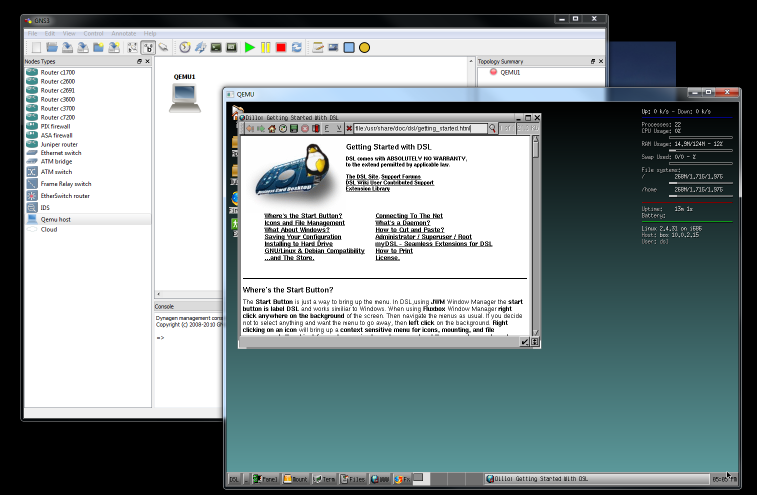
DSL should now spin up. Just follow the prompts. Eventually the desktop will come up. Right click on the desktop and navigate to Apps / Tools / Install to Hard Drive.
A script will launch. Enter these params at the prompts.
Target partition: hda
Support multii-user? Sure, why not. Enter ‘y’
Use ext3 filesystem? y
Last chance? y
It will warn you that hda is the entire drive and not a partition. That’s OK, confirm it.
Now DSL will install itself into your virtual disk. Neat! Wait awhile and DSL will ask you if you want a bootloader. Confirm Yes and when prompted – chose LILO by entering ‘l’ (lowercase L). This is important, GRUB will not work.
Eventually DSL will try to reboot. It will fail, because it can only be launched by QEMU. DSL doesn’t know it’s a virtual instance it thinks it’s on real hardware. What it doesn’t know won’t hurt it.
Now, your DSL should be fully installed. Back in the DOS prompt you should be able to launch it with this command.
C:\Program Files (x86)\GNS3> qemu -hda dsl -m 256
You can use any amount of RAM you want, I think 256 is safe though.
Now, let’s configure GNS3 to launch your desktops by itself.
Launch GNS3 and go to Edit / Preferences / Qemu section. Most of the info will be filled in for you.
Click on the Qemu Host tab. Create a new instance for DSL:
Identifier name: Name it whatever, I called it “DSL-1”
Binary image: It took me a long time to figure this one out. Where does Qemu store its virtual disks??? I finally found them after searching the hard drive. Click the “…” button and browse to:
C:\Users\\AppData\Local\VirtualStore\Program Files (x86)\GNS3\ – your Qemu instances should be in here.
RAM: 256 (or whatever)
Number of NICs: How many do you want? They’re free! I left it at 6.
Pick the rest if it’s important to you, or leave it at defaults and hit Save. Now, test your Qemu settings on the General Settings tab. If everything is working, when you launch a Host then a DSL virtual desktop should automatically pop up!